During the spring I’ve been exploring the possibilities and potential directions that a completely redesigned renderer could take. Continuing from part one, this post contains more of the results and related thoughts about where things could and should be heading.
Parallax mapping
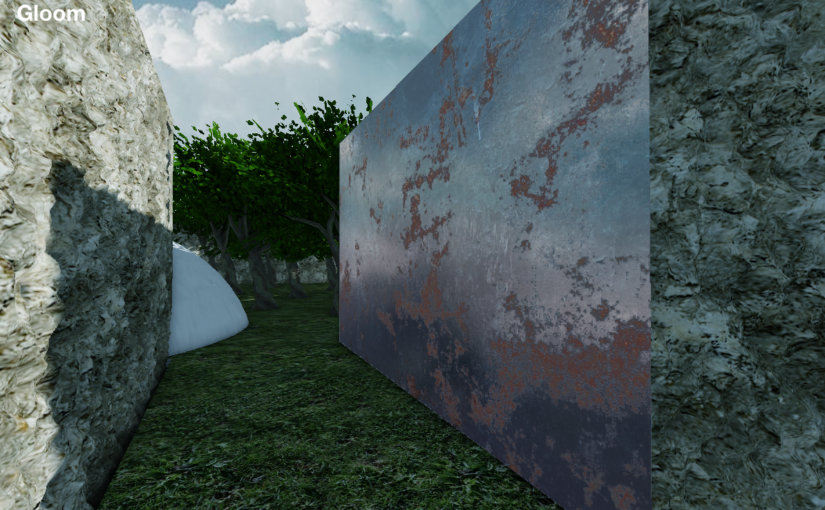
I’ve always thought that parallax mapping would bring a lot of nice detail to DOOM-style maps that contain large planar surfaces. When writing new material shaders, one of the first things I tried was parallax mapping. This is a technique where the surfaces remain planar, but texture coordinates are shifted to create the illusion of depth variations. Naturally, one must have a height (displacement) map for each surface that uses this effect.
I tried various versions of parallax mapping. In the screenshot above, the wall on the right is a simple quad that gets displaced in the fragment shader. In this final version, displacement is also applied in the depth buffer, which makes the end result virtually indistinguishable from actual mesh-based geometry. However, it is quite costly for the GPU in terms of per-pixel computation, and the maximum depth of the effect needs to be limited to avoid visual artifacts. It could still be useful for certain special use cases, but I’m leaning toward mesh-based surface detailing because that can be stored as static vertex data and thus can be cheaply rendered.
The simpler version of parallax mapping could also be useful in certain situations such as very rough surfaces where normal mapping doesn’t quite hide the flatness of the surface. In practice, the height/displacement values can be stored in the alpha channel of the normal map, so they can be conveniently present for selected materials.
Materials and textures
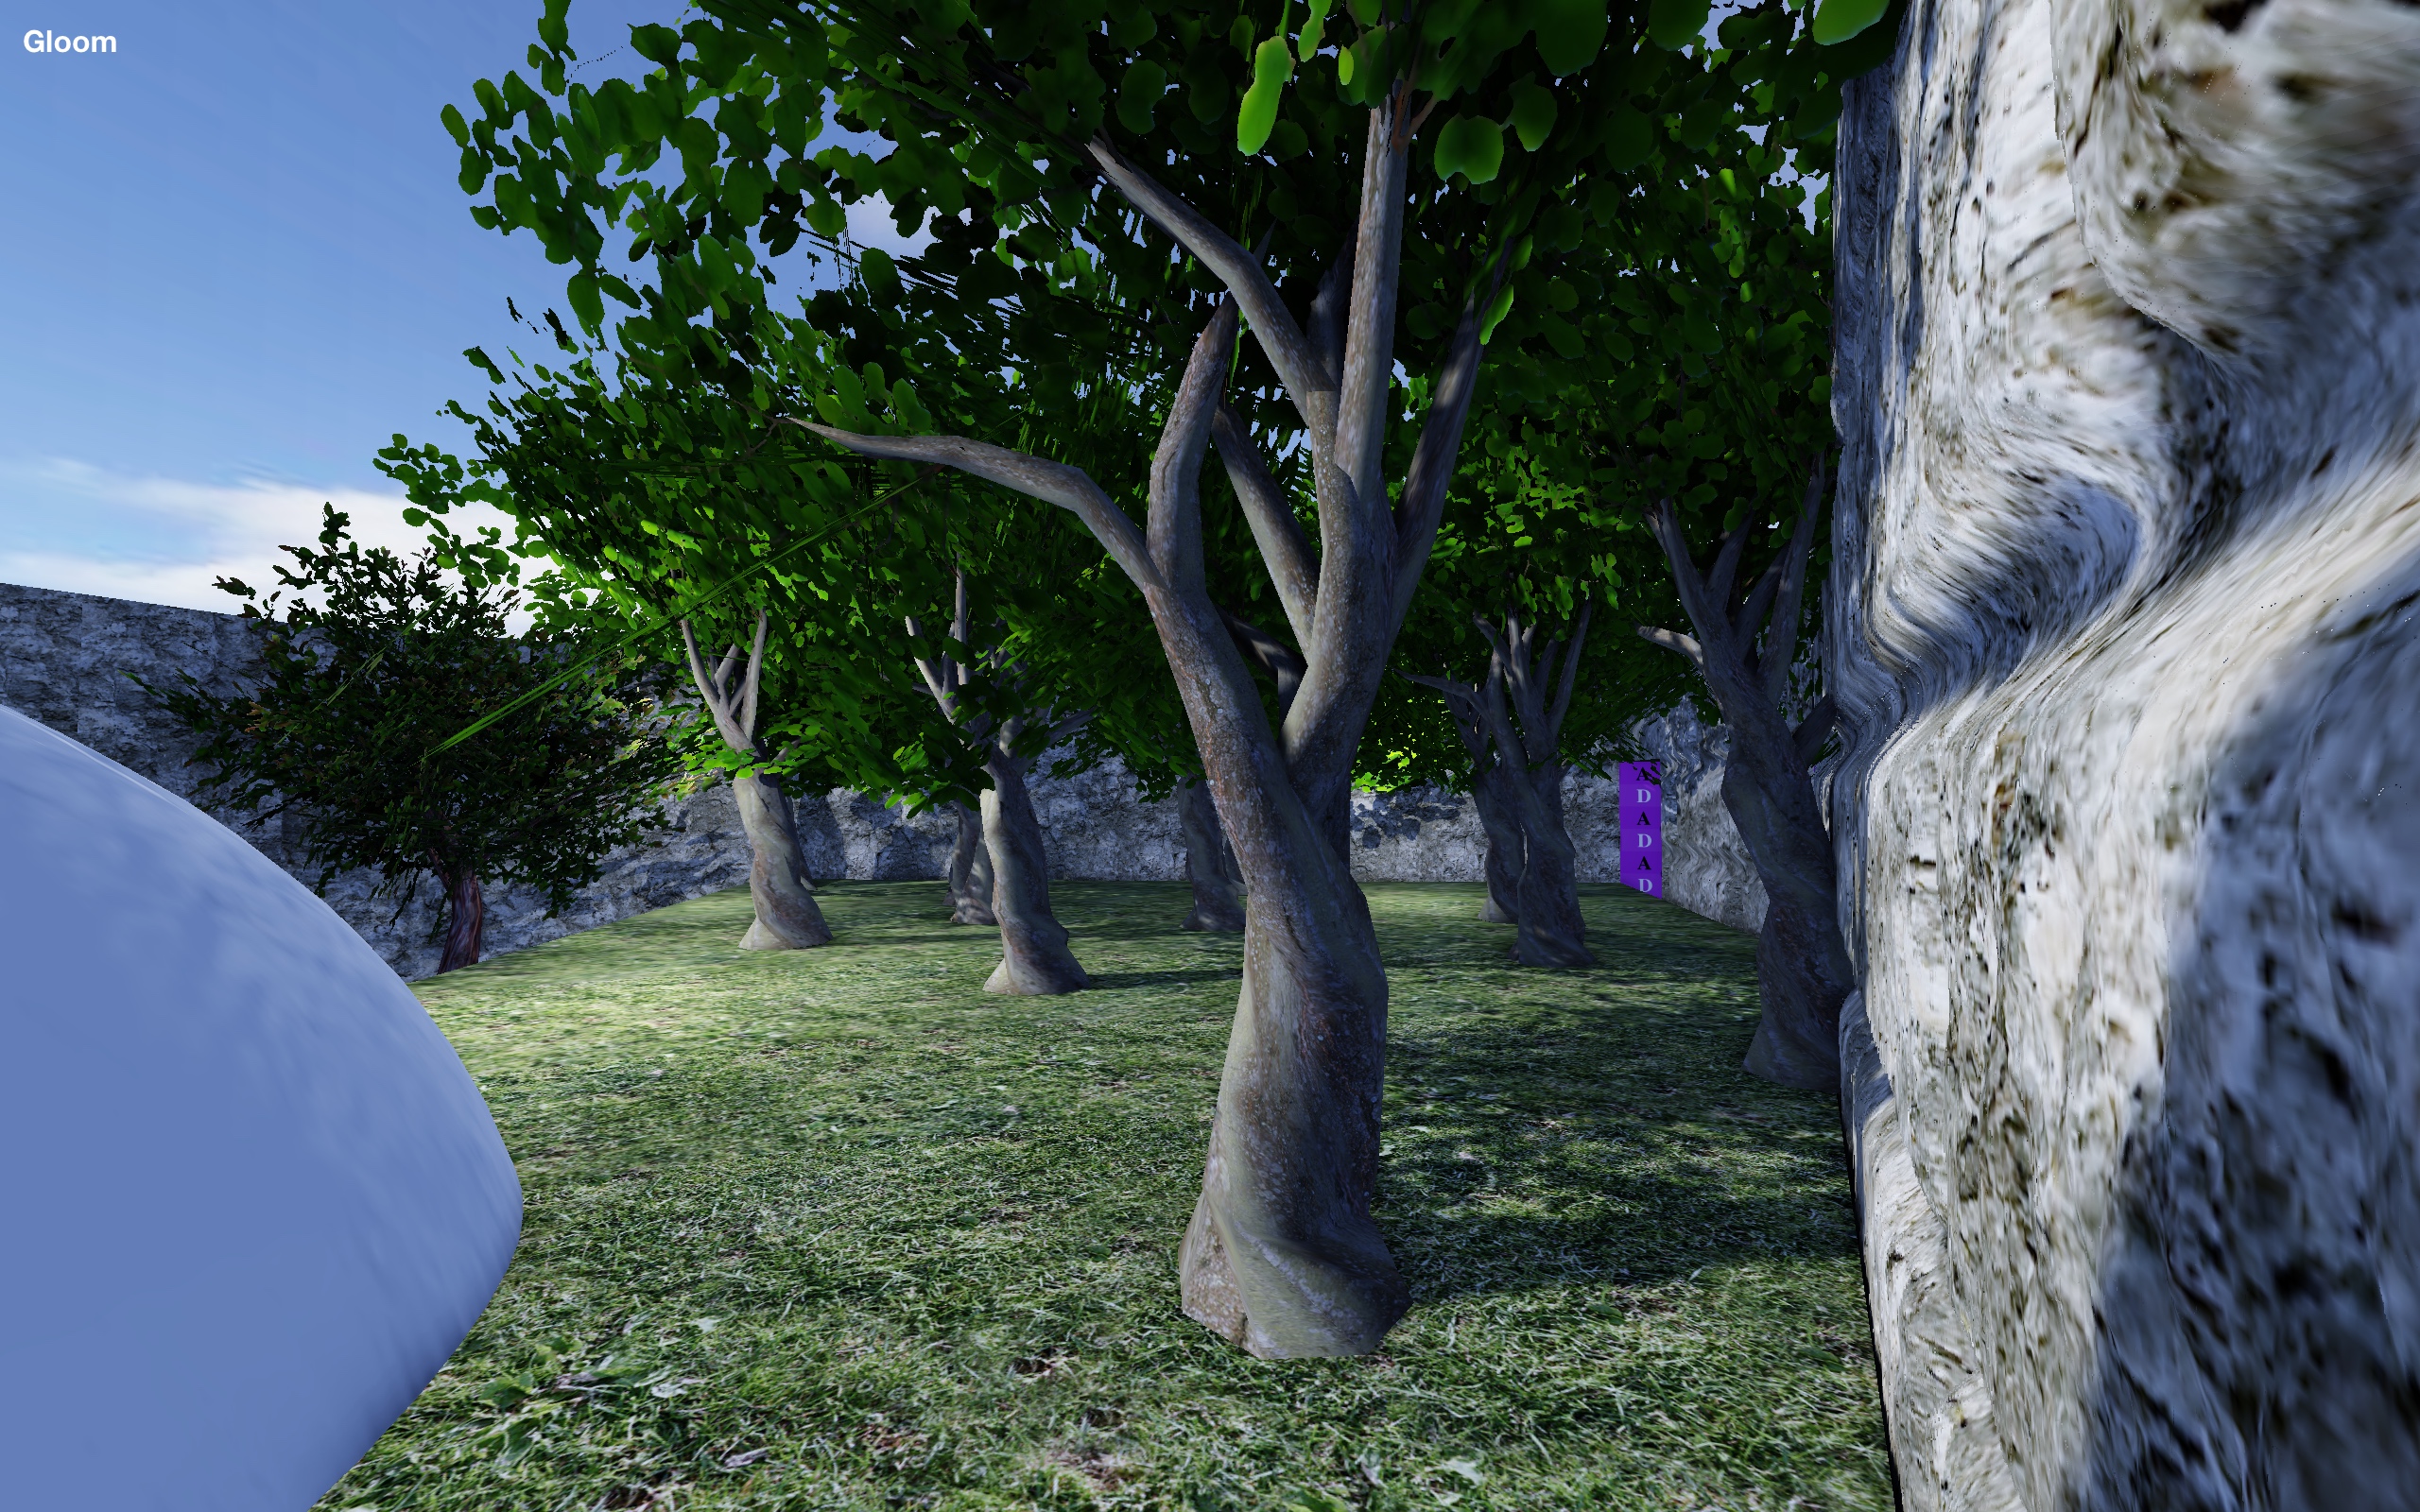
Speaking of material shading, materials suitable for physically-based rendering (PBR) are nowadays the common solution. Explained shortly, instead of having a single texture map containing the final appearance of the material, one has multiple texture maps that describe various aspects of the surface. This takes up quite a bit more memory, but the benefit is that lighting applied to the surface can accurately and dynamically adapt to the surface properties.
(The 3D model renderer in Doomsday 2 already supports PBR materials: one can provide specular/gloss and emissive maps in addition to albedo color and normal vectors.)
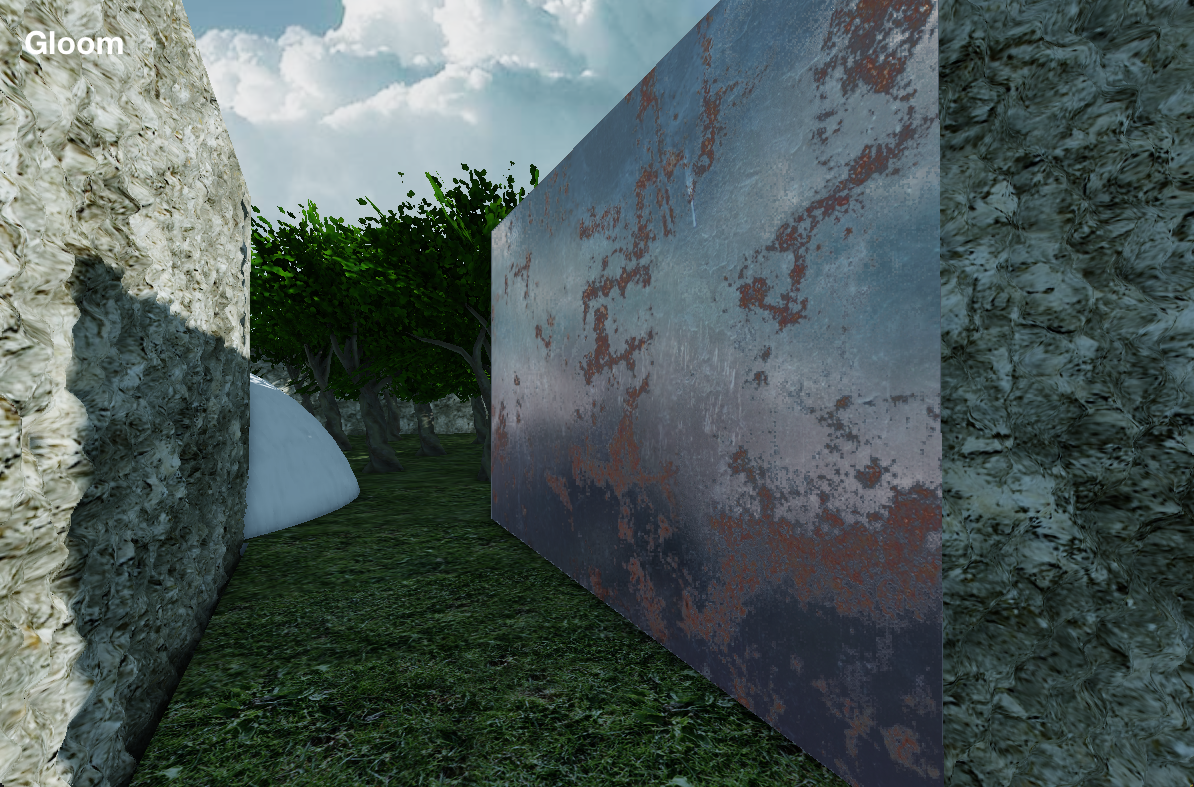
Reflections are a crucial part of physically-based rendering; in addition to shadows, light bouncing around is basically what gives a realistic appearance to a scene. In addition to light that is coming directly from a light source, light can also come from the surrounding environment. Solving this accurately requires ray tracing, but fortunately plausible results are possible with cubic environment maps and screen-space techniques.
The “sky box” is one environment map that can be assumed to be always available. It is convenient as a fallback for reflections where no better information is available. The smallest mipmap levels of the sky are also good for approximating overall ambient light in the scene, although better global illumination techniques would yield improved results.
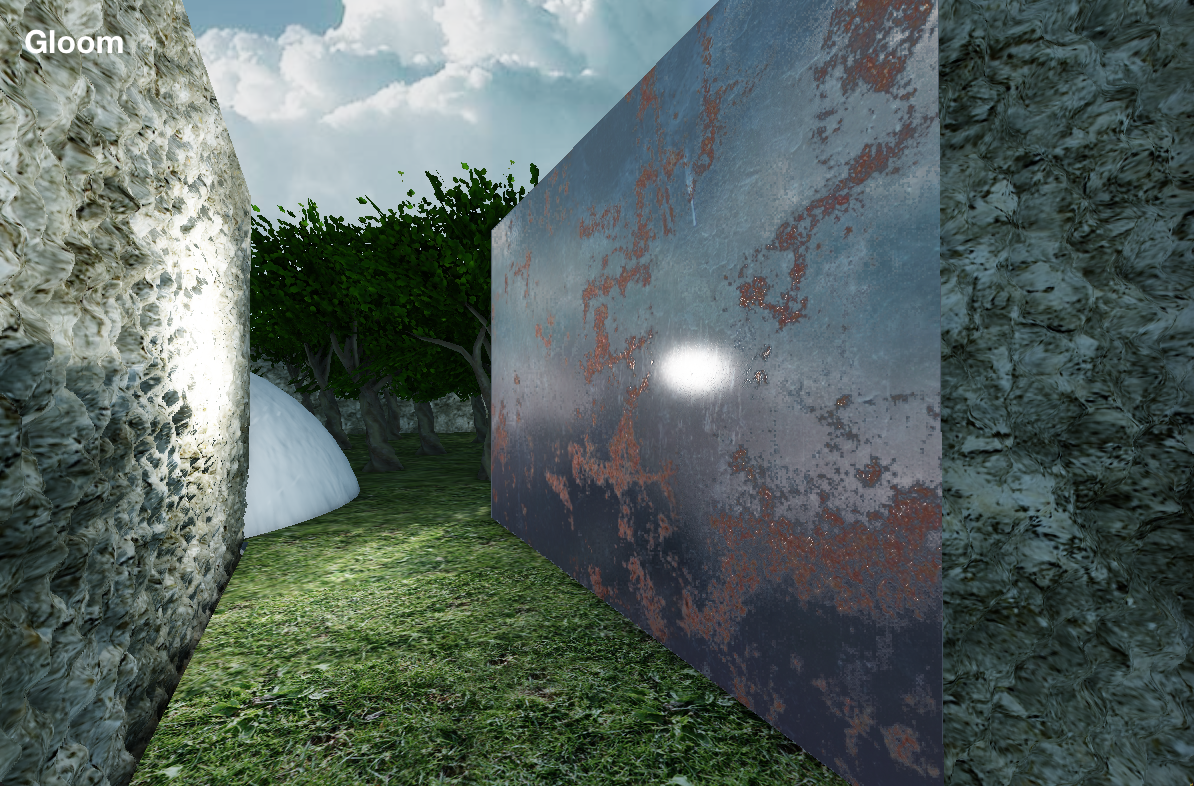
I have been thinking about rendering cube maps on the fly as needed for localized reflections but haven’t implemented this yet. This is crucial for sharp reflections (such as mirrors/chrome), but in the big picture it is a relatively niche requirement — during gameplay one does not notice that the reflections are physically inaccurate, especially if they are a bit blurry anyway.
A big open question is whether it is possible to generate good-looking PBR materials based on the original Doom textures. I have a feeling this could be possible with a set of manually-created templates and generic surface detail patterns. The other option is to rely on manually-prepared texture packs. A mixture of these two approaches is also possible. In any case, if one also considers additional surface detail meshes/objects, there is plenty of manual work to create materials with the appropriate level of detail and visual quality.
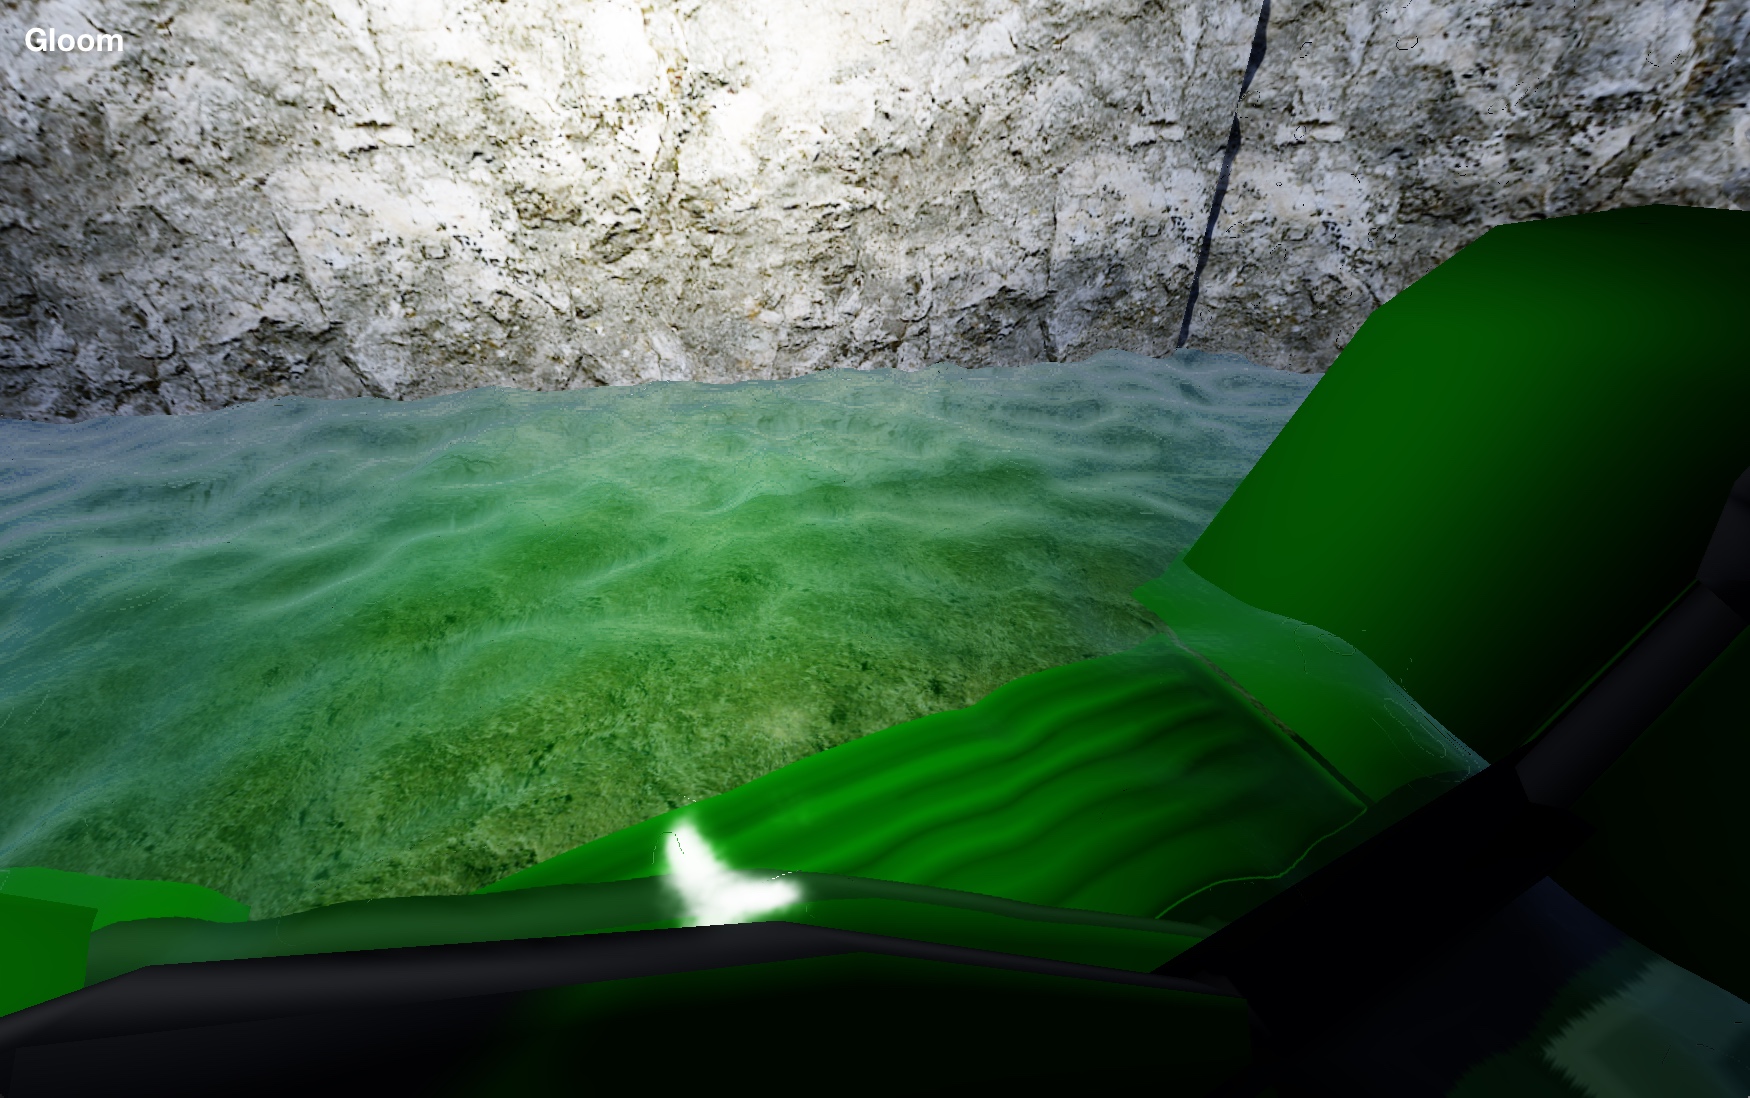
Liquids
When it comes to rendering liquids, and more generally volumetric effects, there are a few things to take into account: how will the surface be rendered, and what happens to light passing through the liquid?
Compared to basic Doom map data structures, the new renderer has the concept of optionally subdividing sectors into vertical subvolumes. A volume may then be rendered as “air” (invisible), or have additional effects applied to it (such as water or fog).
Liquids are a complex effect to render due to how light behaves when it interacts with a volume of liquid. The reflected component can be rendered in the same manner as with a reflective opaque surface, but there is additional refracted light traveling through the volume and bending as it exits the surface. I’ve been rendering liquids using a separate additional pass that does a screen-space approximation of what happens to the refracted light. Volumetric fog is an important part of the effect, too, and that requires calculating the distance between the surface of the liquid and the pixels visible behind it. Thanks to the G-buffer, this information is readily available.
One further aspect to note is the surface wave pattern. So far I’ve only used a very simple sum of two moving noise patterns, which is a cheap way to get some plausible rippling waves. However, one can go very deep on this by actually performing various simulations of how waves would behave on the surface, even applying an interactive component when objects move through the liquid. This is more of a nice-to-have feature, though, and I am not planning dive into such depths in this domain.

HDR, bloom, and tone mapping
After all the light reaching the visible pixels has been calculated, it needs to be converted to a color space suitable for the user’s screen. Thanks to the floating point framebuffer the intensity of visible light may vary greatly. This can be compensated with automatic exposure scaling and tone mapping. Automatic scaling is based on measuring average color values from the previous completed frame and tuning a scaling factor accordingly, to keep the peak values below a certain threshold. There is a lot of room for tuning the algorithm to make the effect more natural. Exposure control also ties into the final tone mapping. I experimented with a few tone mapping functions, but choosing the best one partially depends on the overall lighting system and what works with the kind of lights in use.
Additionally, a bloom effect can be applied to accentuate the really bright parts of the frame. A simple bloom effect already exists in the D1 renderer but is quite limited since it has to deal with only having 8-bit RGB colors as input. That means colors at the high end of the range will always result in bloom regardless of whether the situation warrants it or not. But now with floating point colors, bloom can be applied only to the truly bright pixels.

To be continued…
In the next part, I’ll discuss importing levels from WAD files and what remains to be done next.